Although we are looking for the phone with the best camera – although we can always resort to classic cameras and camcorders for this task – to take the best possible videos and photos, the result can be overshadowed (literally and figuratively) if we do not have adequate lighting.
As in photography, to make a quality video it is necessary to have adequate home studio lighting to accompany the image. In short, the function of any camera is to capture what is touched by light, so without it, none of this would be possible.
It is not a matter of having a home studio, because fortunately, many alternatives allow us to record home videos with adequate and attractive lighting. In this lighting guide to recording videos at home, we review the main alternatives with their respective strengths and weaknesses.
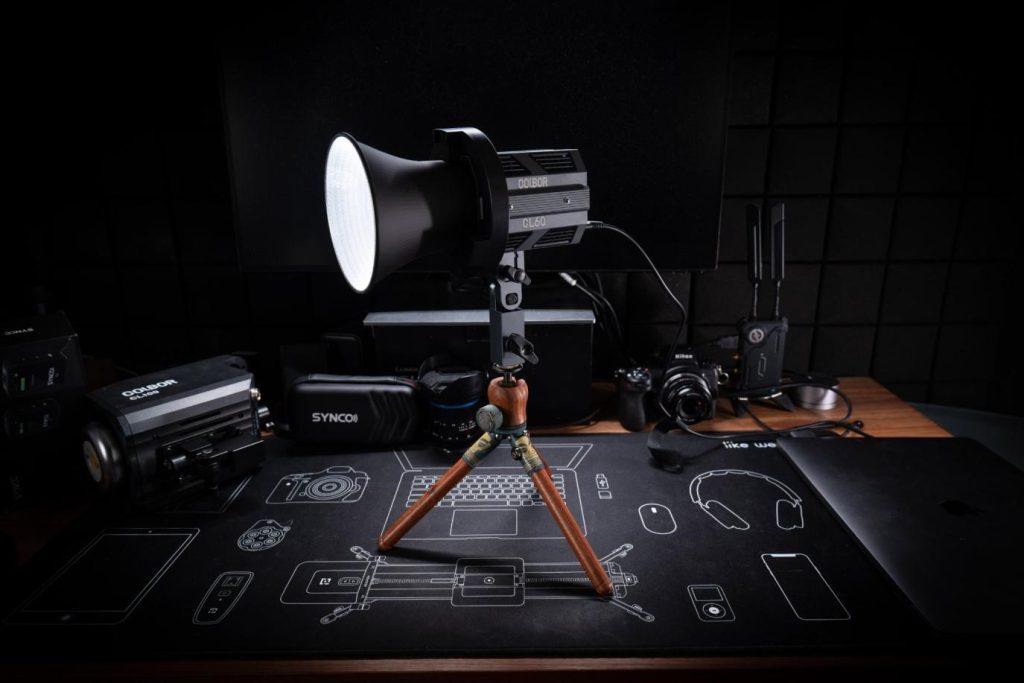
Source: COLBOR
Basics: Home studio lighting concepts explained
Light power and colour temperature are some common concepts that we use when choosing any home studio LED lighting, and now it is great for us to have them clear so that our setup meets our needs.
Output
The light output (actual lumens) refers to how much light it gives us. In this sense, it is not the same to need a bulb to provide ambient light as to use it as an alternative to a spotlight.
Color temperature
If we bet on a bulb that does not change colour, it is interesting to know what colour temperature they offer, measured in Kelvin: if it is around 3,000K it will be a warm white bulb, at 4500K it is pure white and 5800K is about cool white. And if it changes, we are interested in covering that spectrum of temperatures to have versatile lighting.
However, some connected bulbs also allow you to adjust their intensity and even offer RGB lighting, two functions that can be useful depending on the effect you want to create.
Opening angle
It is also important to know the opening angle: those with a closed opening angle provide a very localized light, but if the fan goes from 80 to 120 degrees, it will be more widespread.
CRI
A parameter used in home studio lighting to evaluate its quality is the CRI, from the English Colour Rendering Index. This value allows us to know how faithful the focus is when it comes to reproducing the range of colours of a scene according to the human eye.
Although sunlight or that provided by incandescent materials (such as tungsten or halogen lamps) are capable of emitting all the colours of the spectrum (in all wavelengths), fluorescent lamps and LEDs are not capable of doing so. As a consequence, this affects how we perceive the colour of the objects that are under its illumination.
The CRI scale goes from 0 to 100, the latter being the ideal value (that of the sun). To get used to the idea, some good professional lights are around 90 and below 90 it is not of the quality for this use scenario.
Home recording studio lighting ideas: Three common setups
Recording video at home we are going to find essentially three scenarios of use: the close-up, widely used in video calls or to record speeches such as courses, general and product plans.
Whatever your case and you have different budgets, these are the advantages and limitations of home photography studio lighting to record home video.
As a general rule, we will always seek to have a scene with sufficient light so that the device in charge of recording is capable of capturing colours and details, which allows us to capture the volume so as not to lose nuances, avoiding at all costs hard shadows in key places such as faces and that light has the ability to grant more or less relevance depending on the plane in which the different objects are located.
Use natural lighting as home studio lighting
This home video studio lighting setup is the easiest and cheapest way to shoot video at home, especially for those close-up shots. It also offers great results if you know how to take advantage of it and take into account that the sun moves continuously, consequently, your lighting source changes position.
The goal is for shots to look evenly lit and (relatively) free of shadows.
To do this, it is best to choose a well-lit place – the lighter, the better – and position ourselves with the light source directed towards us, trying to make it as uniform as possible, since if we stand to the side, shadows will be generated (and we would have to counteract them with another point of light or with a reflector, which you can make yourself with aluminium foil).
Be careful because we are not interested in the light is strong, but rather it favours more when it is soft. In this sense, a blind can help to soften and spread it.
We are not always going to have a large window with access to sunlight, a favourable day or space to situate ourselves right in front of the window. But there are other very successful low-cost solutions.
Using a couple of lamps
A versatile and relatively low-cost alternative to create studio lighting at home is to have a couple of lamps with their corresponding bulbs.
The good thing is that it is not difficult to have a couple of lamps at home and that, in addition to using them for sporadic video recording, they will be useful for our day-to-day.
The idea is to place both lamps (ideally they are the same) in front of you, just behind the device you are going to use to record, arranged symmetrically placed at 45 degrees.
The goal again is to achieve soft diffused light, something shaded lamps help. The lamps, on the other hand, create intense points of light, useful in close-ups but “dangerous” due to that can be harsh.
Use ring lights to create home studio lighting for selfie photos
If the user is going to be exclusively selfie photos and close-up videos, the light ring is a good low-cost alternative framed in the input range, that is, for sporadic use.
This gadget consists of a circular light, so it offers uniform lighting right in the area in front of them (your face), thus mitigating the most pronounced shadows and providing an attractive point in the eyes.
Apart from the usual characteristics(which we have seen in the previous point), we can find light rings of different diameters and ways of fixing them.
There are some with a built-in tripod, others that allow their integration into third-party tripods, and the smallest, which can be attached to the phone itself. It is important to look at the fixing system and how robust it is, since we do not want there to be any looseness or even the phone to come loose and fall to the ground
They are a success if we are clear about their use scenario since they will fall short to illuminate a room. The most affordable models offer more of a “regular” light, although it will depend on our expectations.
More tips on creating a home recording studio
- Determine the formats you want to implement in your recordings. This will allow you to choose the best tools
- Define a device to record video: it can be your mobile phone or your laptop
- Choose the ideal place in your home, according to the different recommendations, to set up your studio
- Use natural light to illuminate the stage, but if this is not enough, you can always buy artificial lights to make the task easier. Home studio lighting kit is easily available in the market.
- Records the sound independently of the image. Use specialized devices for this purpose


Comments